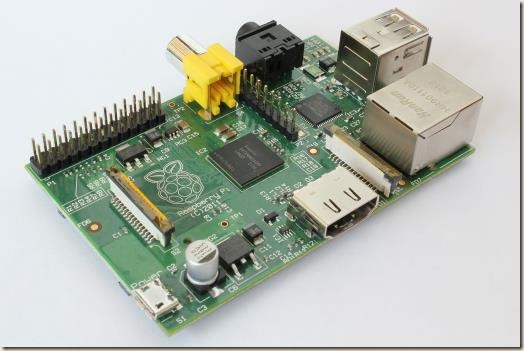
The Raspberry Pi was released about 18 months ago, and I was fascinated by it all the way up to that release. I had one pre-ordered, and it arrived late last summer (2012). For anyone who doesn’t know, it is a tiny, single-board computer which was designed to sell for $25 (or $35 for the higher-spec version). The photo below is misleading – it looks huge, but the board is only 8.5cm long, which is not much bigger than a credit card.
It is British-designed, and the main purpose of the registered charity behind it was to help teaching computers in schools. As of October 2013, 1.75m Pi boards have been sold – 1m of which were made in the UK.
Now, as I’ve explained before, I am a gadget freak. For me, owning a gadget is about 80-90% (maybe a bit more) as satisfying as actually using it. To that end, my Raspberry Pi has remained in its original packaging since I got it last year waiting for me to get the necessary urge to take it to the next level.
Changing the subject for a moment, over Christmas I was searching the web for a suitable barometer which would interface with my normal PC so that I could log the data. I  didn’t want a full weather station – I’m not that big an anorak – just a barometer. But I couldn’t find one.
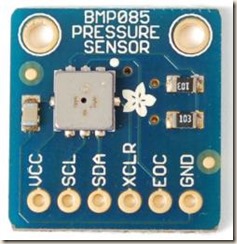
Next, I had the idea that there might be a module I could buy and tinker with. And there was – the BMP085. It contains pressure, altitude, and temperature sensors. Things were a bit confusing for a while, because the name “Arduino” kept cropping up. Of course, after I actually looked it up, I realised that it is a single board microcontroller (actually, there are various models), developed in Italy, which is used to experiment with and prototype electronic systems. All of a sudden, the prospect of a nice little nerd project started to grab me by the throat, and I began to curse myself for not looking into this before Christmas because of the delayed post I would now have to live with. But after a few moments at the very shallow end of the Arduino pool, it suddenly occurred to me: I wonder if my Raspberry Pi could do this? And it turns out, it can. So it was time to get it up and running…
Step 1 – The Parts
These are just to get the Raspberry Pi up – the barometer will come later (after I get the extra bits delivered):
- Raspberry Pi
- USB keyboard
- USB mouse
- SDHC card
- HDMI cable
- Power supply unit
- Ethernet cable
I already had all the parts (I bought the PSU at the same time as the Pi). I connected everything up except for the SDHC card, Ethernet, and PSU at this stage, using one of the free HDMI ports on my TV for display purposes.
Step 2 – The Operating System
The Pi has no permanent storage on-board – no disk drives or anything (though it (Version B) does have 512MB of RAM). The SDHC card is the storage medium, and when you get it it is effectively blank (or contains old stuff if it’s been sitting in your box of bits like mine has). It has to be formatted properly, and then have an OS installed on to it. There is a useful guide on Adafruit which explains how to do this. Adafruit provides an easy way – there are plenty of others which revel in command line Linux commands, but that probably explains why the forums are full of people complaining their Pi doesn’t work.
First of all, I downloaded the SD Association formatter to my PC and installed it. I put my card into my reader and formatted it as explained in this document on the Raspberry Pi site.
Next, I downloaded NOOBS (offline and network install), extracted the files, and copied them on to the SDHC card, all as explained in this link. Then I put the card back into the Raspberry Pi’s card port. The card now contains a bootable image which allows the OS to be installed.
I connected the power cable and the Pi booted up first time. Following the instructions in the last link I selected Raspbian as the preferred OS and it installed flawlessly (took about 20 minutes). After rebooting, I followed the instructions in this link to set it up the way I wanted it (I especially made sure I enabled SSH so I could talk to the PI from my PC). After rebooting again, it launched into a desktop similar to Windows.
Next, I connected the Ethernet cable to link the Pi to my Virgin Media Superhub. Again, it immediately connected to the internet (and the system time corrected itself).
Note: Using PuTTY on my PC, having enabled SSH meant that I could log into my Pi using its IP address and use the command line interface from there.
Step 3 – Making the Pi’s IP Address Static
Referring to this link, I set my Pi to have a static IP address (i.e. one that doesn’t change).
Step 4 – Installing a Remote Desktop Function
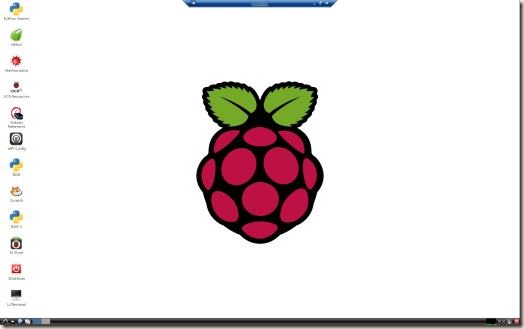
This is so I can control my Pi visually from my PC, which will avoid having to have the keyboard and mouse connected to such a tiny computer. I used this tutorial to set it up – but only the part where XRDP is installed on the Pi. Windows 7 already has a Remote Desktop program, and by running this and entering my Pi’s login details I connected immediately. The Pi desktop as it appeared on my PC is shown below:
Note that there are limitations – I couldn’t carry out the next step remotely and had to do it directly on the Pi. Leafpad just didn’t want to open remotely.
Step 5 – Networking
At this stage, although the Pi could connect to the internet via the Superhub (that’s why I could download the necessary programs referred to above), it wasn’t visible as part of the network from my Windows PC. It pinged OK, but that’s all. The Pi needs to have a Server Message Block protocol installed, and I found this link to Samba which provides that. Again, I followed the instructions and it worked first time. The only change I made was to set public=yes so that I didn’t have to use a password to access Pi from my PC each time. Now, I can see the entire Pi file set on the SD card via the network on my PC.
The reason I did this was that I plan to write the barometer reading to a file on a regular basis and I want to be able to pick it up on my PC.
Next Steps
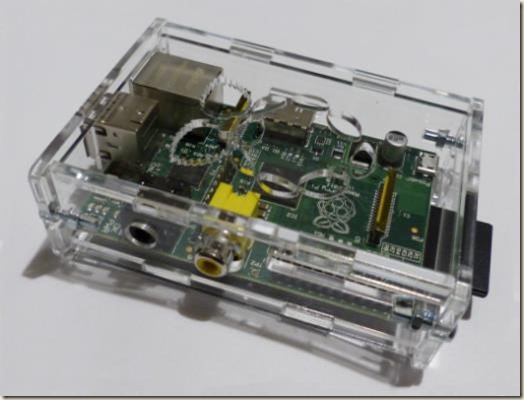
At the moment I have done as much as I can until the new parts arrive. I’ll write an update when they do. The case has already arrived, and the picture above shows my Pi inside it.
Incidentally, the Raspberry Pi is roughly equivalent to a P2 300MHz (circa 1997) in terms of power, but with better graphics. It certainly looks groovy when you’re using a 50” plasma TV as a monitor. It’s great fun to play with.